
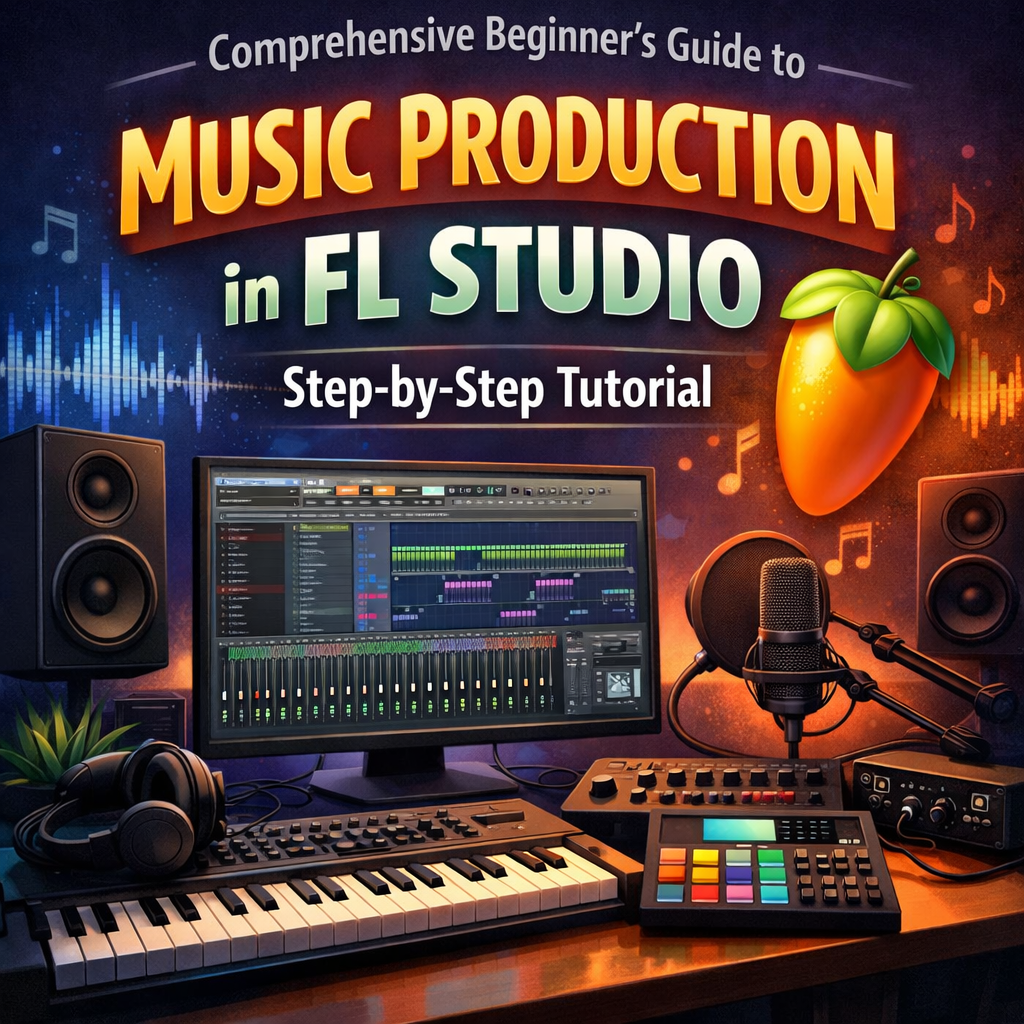
Comprehensive Beginner’s Guide to Music Production in FL Studio: Step-by-Step Tutorial
Comprehensive Beginner’s Guide to Music Production in FL Studio: Step-by-Step Tutorial
Music production can feel overwhelming when you’re just starting out — but with the right tools and guidance, it becomes an exciting, creative adventure. FL Studio is one of the most popular and beginner‑friendly DAWs (Digital Audio Workstations) in the world, used by producers across every genre. This step‑by‑step guide walks you through the basics, from installation to exporting your first finished track.
Let’s dive in and get you producing music today.
Step 1: Download and Install FL Studio
Start by downloading FL Studio from the official Image‑Line website. Choose the edition that fits your needs — the free trial is fully functional, but you won’t be able to reopen saved projects.
Once installed, open FL Studio and you’ll be greeted by the main workspace where all your music‑making happens.
Step 2: Familiarize Yourself with the Interface
FL Studio’s interface may look complex at first, but once you understand the core sections, everything clicks into place.
Key Areas to Know
- Channel Rack: Build beats and patterns using instruments and samples.
- Piano Roll: Create and edit melodies, chords, and basslines with precision.
- Playlist: Arrange your patterns and audio clips to form a full song.
- Mixer: Control volume, panning, and effects for each track.
- Toolbar: Includes transport controls (play, stop, record) and essential editing tools.
Spend a few minutes clicking around — familiarity builds confidence.
Step 3: Set Up Your Project
Before creating music, set up your project properly.
1. Set the BPM
Adjust the tempo at the top of the screen.
- Pop: ~120 BPM
- Hip‑hop: 70–100 BPM
- EDM: 120–140 BPM
2. Add Instruments
Click the + button in the Channel Rack to add synths, drums, or plugins. FL Studio includes great built‑ins like:
- FL Keys
- 3xOsc
- DrumSynth Live
3. Save Your Project
Go to File > Save As and name your project. Save often.
Step 4: Create Your First Beat
Let’s build a simple drum pattern.
- In the Channel Rack, choose a kick, snare, and hi‑hat from the Browser.
- Click the steps in the Step Sequencer to create a rhythm:
- Kick on steps 1 and 9
- Snare on 5 and 13
- Press Play to hear your beat.
You’ve just created your first pattern.
Step 5: Add Melodies and Chords
Now let’s add musical elements using the Piano Roll.
- Select an instrument (e.g., FL Keys).
- Right‑click it in the Channel Rack → Piano Roll.
- Click to add notes. Drag to adjust pitch and length.
- Experiment with chords, melodies, and basslines.
The Piano Roll is one of FL Studio’s most powerful tools — explore it freely.
Step 6: Arrange Your Song in the Playlist
Once you have a few patterns, it’s time to build your track.
- Open the Playlist from the toolbar.
- Drag your patterns from the Channel Rack into the Playlist.
- Arrange them into sections:
- Intro
- Verse
- Chorus
- Breakdown
- Outro
Copy, paste, and move patterns to create flow and structure.
Step 7: Mix Your Track
Mixing balances your sounds and makes your track feel polished.
1. Open the Mixer
Click the Mixer icon in the toolbar.
2. Assign Tracks
Select an instrument → choose a Mixer track number at the bottom of the Channel Rack.
3. Balance Levels
Adjust volume faders so no element overpowers the others.
4. Add Effects
Use FX slots to add:
- EQ
- Compression
- Reverb
- Delay
FL Studio includes plenty of built‑in effects to experiment with.
Step 8: Export Your Track
Once your arrangement and mix feel good, export your song.
- Go to File > Export.
- Choose WAV (highest quality) or MP3 (smaller file).
- Adjust settings if needed.
- Click Start to export.
Congratulations — you’ve created your first track in FL Studio.
Step 9: Continue Experimenting
FL Studio is incredibly deep. Once you’re comfortable with the basics, explore:
- Automation
- Sound design
- Advanced mixing
- Layering
- Sampling
- Sidechain compression
- Third‑party plugins
The more you experiment, the faster your skills grow.
Conclusion
Learning music production in FL Studio is a rewarding journey. Once you understand the basics — creating beats, writing melodies, arranging, and mixing — you’ll be well on your way to producing professional‑quality music from home.
Keep practicing, stay curious, and don’t be afraid to experiment. Every project teaches you something new, and before long, you’ll be crafting tracks you’re proud to share with the world.