
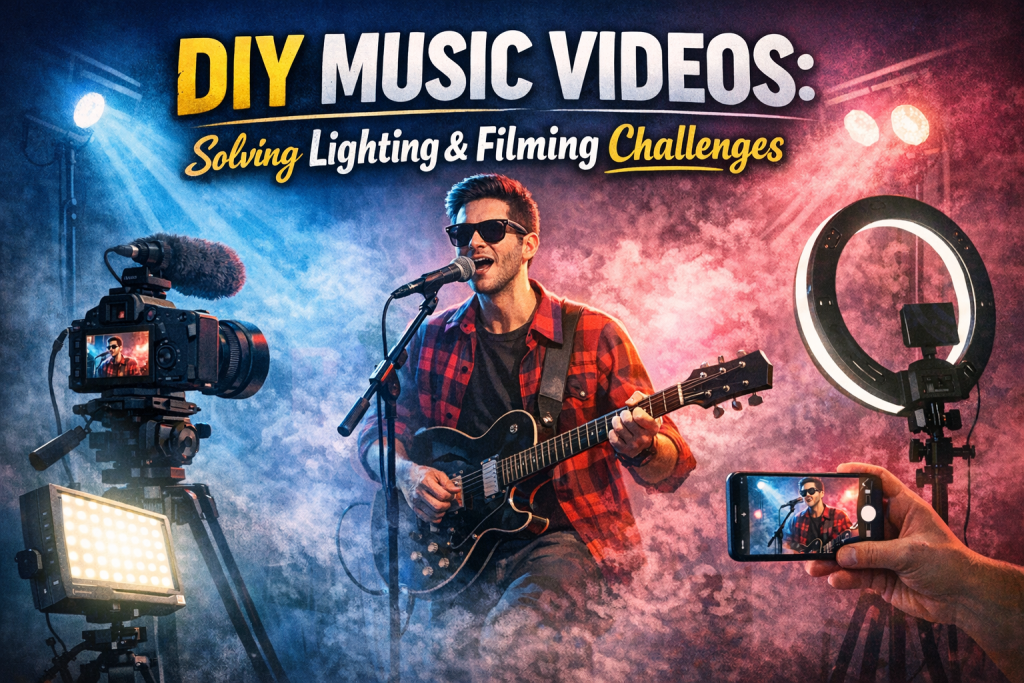
DIY Music Videos: Solving Lighting and Filming Challenges
DIY Music Videos: Solving Lighting and Filming Challenges
Creating a music video is one of the most powerful ways to visually express your music and connect with your audience. But if you’re an independent artist, budget limitations can make the process feel intimidating. The good news? You don’t need expensive gear or a full production crew to create a polished, professional-looking video. With creativity and smart planning, you can overcome common lighting and filming challenges and produce a video that truly elevates your music.
Here’s how to make it happen.
1. Plan Your Video Concept Carefully
A strong concept is the foundation of a successful DIY music video.
Storyboard Your Ideas
Sketch out your scenes—even simple stick figures work. Storyboarding helps you visualize the flow of your video and ensures you capture every essential shot.
Scout Locations
Look for locations that match your theme and offer good natural lighting. Public parks, alleys, rooftops, and even your home can become cinematic spaces with the right framing.
Keep It Simple
A simple concept executed well is far more effective than an overly complex idea that stretches your resources thin.
2. Use Natural Light to Your Advantage
Lighting is one of the biggest challenges in DIY video production, but natural light can be your best friend.
Golden Hour
Shoot shortly after sunrise or before sunset for soft, warm, flattering light.
Cloudy Days
Overcast skies create diffused, even lighting—perfect for outdoor shoots without harsh shadows.
Window Light
For indoor scenes, position your subject near a large window. Use sheer curtains to soften harsh sunlight.
3. DIY Lighting Solutions
If you need extra lighting, you can create effective setups on a budget.
Reflectors
Use white foam board, aluminum foil, or even a car sunshade to bounce light and fill shadows.
Household Lamps
Standard lamps can work surprisingly well. Bounce the light off walls or ceilings for a softer look.
Affordable LED Panels
Budget-friendly LED panels offer adjustable brightness and color temperature, and they’re portable for on-the-go filming.
4. Stabilize Your Shots
Shaky footage instantly makes a video look amateur. Stabilization is essential.
Use a Tripod
Affordable tripods provide steady, reliable shots.
DIY Stabilizers
Stack books, use a sturdy table, or create makeshift supports with household items.
Handheld Techniques
Hold the camera with both hands, keep elbows close to your body, and move slowly and smoothly.
5. Use Your Smartphone Effectively
Modern smartphones are powerful filmmaking tools.
Explore Manual Settings
Adjust ISO, shutter speed, and focus for more control over your footage.
Add External Lenses
Clip-on lenses can expand your creative options with wide-angle, macro, or telephoto effects.
Use Filmmaking Apps
Apps like Filmic Pro unlock advanced controls, including manual focus, exposure lock, and color profiles.
6. Focus on Composition
Good composition elevates your video, even with basic equipment.
Rule of Thirds
Place your subject along the grid lines or intersections for balanced, visually appealing shots.
Leading Lines
Use roads, fences, hallways, or architecture to guide the viewer’s eye toward your subject.
Depth of Field
Include foreground, middle ground, and background elements to create depth and dimension.
7. Edit with Care
Editing is where your footage becomes a cohesive story.
Use Free Editing Software
DaVinci Resolve, HitFilm Express, and iMovie offer powerful tools at no cost.
Color Grading
Correct lighting inconsistencies and create a unified visual style.
Keep It Simple
Avoid overusing transitions or effects. Clean cuts and subtle transitions are often more effective.
8. Test and Adjust Before the Shoot
A test run can save you hours of frustration.
Lighting Test
Film a short clip to check exposure, shadows, and color.
Sound Check
If recording live sound, test your microphone setup and minimize background noise.
Rehearse
Practice movements, camera angles, and performance to ensure a smooth shoot day.
Conclusion
Creating a professional-looking music video on a budget is absolutely possible. With thoughtful planning, smart use of natural light, DIY lighting solutions, stable shots, and careful editing, you can overcome common filming challenges and produce a video that truly represents your music. Remember: it’s not about how much money you spend—it’s about how creatively and effectively you use the resources you have.
You’re now equipped to create a visually compelling, polished music video—even on a shoestring budget.