
How to Use Vocal EQ Zones to Instantly Improve Your Voice in Recordings
How to Use Vocal EQ Zones to Instantly Improve Your Voice in Recordings
Achieving a professional vocal sound often comes down to using EQ (equalization) effectively. EQ allows you to shape your vocals, enhance clarity, remove unwanted frequencies, and help your voice sit perfectly in the mix. By understanding the different vocal EQ zones, you can make precise adjustments that instantly improve your recordings.
This guide breaks down the essential EQ zones and shows you how to use them to enhance your voice.
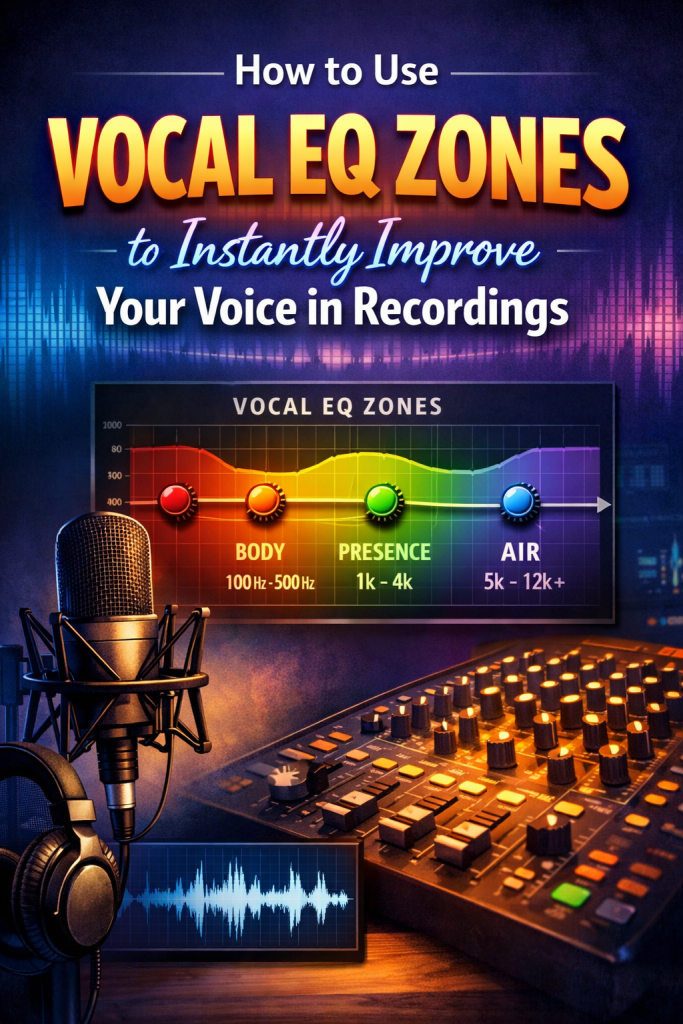
What Are Vocal EQ Zones?
EQ zones refer to specific frequency ranges that influence different characteristics of your voice—warmth, clarity, brightness, presence, and more. Understanding these zones helps you make intentional EQ decisions.
Main Vocal EQ Zones
- Sub‑Bass (20–80 Hz)
- Low Mids (100–300 Hz)
- Midrange (300–1,000 Hz)
- High Mids (1,000–5,000 Hz)
- Presence (5,000–8,000 Hz)
- Air (8,000–20,000 Hz)
Each zone plays a unique role in shaping your vocal tone.
Step-by-Step Guide to Using Vocal EQ Zones
1. Sub‑Bass (20–80 Hz): Clean Up Unwanted Low Frequencies
The sub‑bass range contains extremely low frequencies that rarely contribute positively to vocals. Too much energy here creates muddiness.
Action
- Apply a high‑pass filter to remove everything below 80 Hz.
- Avoid cutting too high—this can thin out your voice.
This simple step instantly cleans up rumble and low‑end noise.
2. Low Mids (100–300 Hz): Add Warmth or Reduce Muddiness
This zone contains the body and fullness of your voice—but it’s also where muddiness builds up.
Action
- Boost 150–250 Hz gently if your vocals sound thin.
- Cut slightly in this range if your vocals feel muddy or boomy.
Small adjustments go a long way here.
3. Midrange (300–1,000 Hz): Control Nasality and Boxiness
The midrange is crucial for vocal clarity, but too much energy can make your voice sound nasal or boxy.
Action
- Cut 600–800 Hz if your voice sounds nasal.
- Boost 400–600 Hz for added clarity and definition.
Use subtle moves—this zone strongly affects vocal character.
4. High Mids (1,000–5,000 Hz): Add Intelligibility and Crispness
This range determines how clearly your words are understood. It helps vocals cut through a mix.
Action
- Boost 2,000–4,000 Hz to enhance clarity and presence.
- Cut slightly if your vocals sound harsh or piercing.
Be gentle—over‑boosting can cause listener fatigue.
5. Presence (5,000–8,000 Hz): Enhance Brightness and Definition
The presence zone adds sparkle and helps vocals sit forward in the mix.
Action
- Boost 5,000–7,000 Hz for brightness and definition.
- Avoid excessive boosting to prevent brittleness.
This is a key zone for polished, modern vocal tones.
6. Air (8,000–20,000 Hz): Add Shine and Airiness
The air zone adds openness and a professional sheen to your vocals.
Action
- Apply a gentle boost above 10,000 Hz for smooth airiness.
- Avoid over‑boosting to prevent hiss or unwanted noise.
This is especially effective for female vocals or breathy styles.
Bonus Tips for EQing Vocals
Always A/B Test
Toggle your EQ on and off to ensure your adjustments are actually improving the sound.
Use Reference Tracks
Compare your vocal tone to professionally mixed songs in your genre.
Use a Spectrum Analyzer
Visual tools help you spot frequency buildups and problem areas.
EQ in Context
Never EQ vocals in solo—always listen within the full mix.
Final Thoughts
Mastering vocal EQ zones can dramatically improve the quality of your recordings. Each frequency range plays a specific role in shaping your vocal tone, and knowing how to adjust these zones gives you the power to create polished, professional‑sounding vocals. Whether you want more warmth, clarity, or brightness, EQ is one of the fastest ways to elevate your sound.