
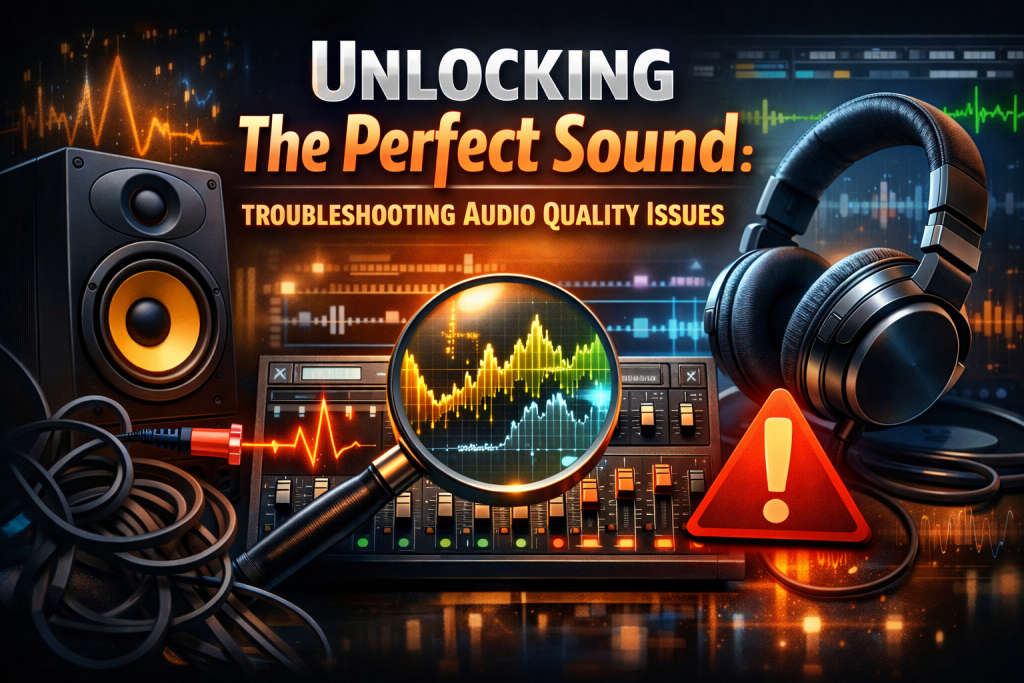
Unlocking the Perfect Sound: Troubleshooting Audio Quality Issues
Unlocking the Perfect Sound: Troubleshooting Audio Quality Issues
Achieving perfect sound quality is the goal of every music producer, sound engineer, and performer. Whether you’re recording in a studio or performing live, audio quality can elevate your work — or undermine it. Even with great equipment, issues can still arise. The key is knowing how to identify and fix them quickly.
Here’s a comprehensive guide to troubleshooting audio quality issues and improving your sound during recording sessions and live performances.
1. Identify the Source of the Problem
Before you can fix an audio issue, you need to pinpoint where it’s coming from. Problems can stem from your equipment, your environment, or your settings.
Check Your Signal Chain
Inspect every part of your setup — from the microphone or instrument to the final output.
- Ensure all cables are secure
- Look for loose or damaged connectors
- Swap out cables to rule out faults
A single bad cable can cause noise, crackling, or dropouts.
Test Gear Individually
If you’re unsure where the issue lies, test each component one at a time. This helps isolate whether the problem is:
- a microphone
- an interface
- a cable
- a plugin
- a hardware processor
Consider Environmental Factors
Noise can come from:
- HVAC systems
- electrical interference
- computer fans
- street noise
- poor room acoustics
Identifying environmental noise early saves time and frustration.
2. Reduce Background Noise
Unwanted noise can ruin a recording or distract during a live performance. Reducing noise at the source is always the best approach.
Use Noise Gates
Noise gates mute low‑level noise when the signal drops below a threshold — perfect for live settings or noisy rooms.
Choose the Right Microphone
- Cardioid mics reduce background noise by focusing on sound from the front
- Condenser mics are more sensitive and may pick up unwanted ambience
Match your mic to your environment.
Soundproofing and Acoustic Treatment
In a studio, acoustic treatment can drastically improve clarity.
- Foam panels
- Bass traps
- Diffusers
- Heavy curtains
These reduce reflections, echoes, and external noise.
3. Avoid Distortion
Distortion occurs when your input levels are too high, causing clipping. Once clipped, audio cannot be fully repaired — prevention is key.
Monitor Input Levels
Keep levels in the green. Avoid the red zone entirely.
Use a Limiter
A limiter prevents sudden peaks from clipping, especially useful in live settings.
Adjust Gain Staging
Proper gain staging ensures:
- strong signal
- no distortion
- consistent levels
Set gain at each stage of your signal chain — mic, preamp, interface, DAW.
4. Manage Frequency Balance
A balanced mix is essential for clarity and impact. Poor frequency balance leads to muddy, harsh, or thin sound.
EQ Your Tracks
Use EQ to:
- cut unnecessary lows from vocals
- tame harsh highs
- carve space for each instrument
Small EQ adjustments can dramatically improve clarity.
Use Reference Tracks
Compare your mix to a professionally produced track in your genre. This helps you identify:
- too much bass
- harsh mids
- dull highs
Avoid Overlapping Frequencies
Instruments sharing the same frequency range can clutter your mix. Use EQ to separate them.
5. Optimize Your Recording Environment
Your room affects your sound more than you might think.
Position Your Microphone Carefully
Experiment with placement to reduce:
- reflections
- reverb
- phase issues
Close‑miking reduces room sound and increases clarity.
Use Acoustic Treatment
Foam panels, bass traps, and diffusers help control reflections and improve accuracy.
Record in a Quiet Space
Turn off fans, AC units, and anything that hums or buzzes. Choose the quietest room available.
6. Enhance Clarity with Compression
Compression controls dynamics and adds polish to your recordings.
Set Threshold and Ratio Correctly
Start with a gentle ratio (2:1) and adjust until dynamics feel controlled but natural.
Use Parallel Compression
Blend a heavily compressed signal with the original to add punch without losing dynamics.
Avoid Over‑Compression
Too much compression makes audio sound flat and lifeless. Use it to enhance, not suffocate.
7. Test and Adjust in Real Time
Live sound is unpredictable — acoustics, PA systems, and even the audience can affect your mix.
Perform Thorough Sound Checks
Test:
- each microphone
- each instrument
- monitor mixes
- room acoustics
Fix issues before the performance begins.
Use In‑Ear Monitors
IEMs help you hear yourself clearly and reduce feedback risk.
Have a Backup Plan
Always carry:
- extra cables
- spare microphones
- backup interfaces
- additional power supplies
Preparation prevents panic.
Final Thoughts
Perfect sound doesn’t happen by accident — it’s the result of careful listening, smart troubleshooting, and intentional adjustments. By identifying issues early, optimizing your environment, and using tools like EQ, compression, and proper gain staging, you can dramatically improve your audio quality in both studio and live settings.
Great sound is within reach. With the right techniques, you can unlock the clarity, warmth, and impact your music deserves.